Files over 100 MB: upload first, then send the file_id
Files larger than 100 MB do not fit in a JSON request. Upload them once with a presigned PUT, then send the returned file_id in your compression request.
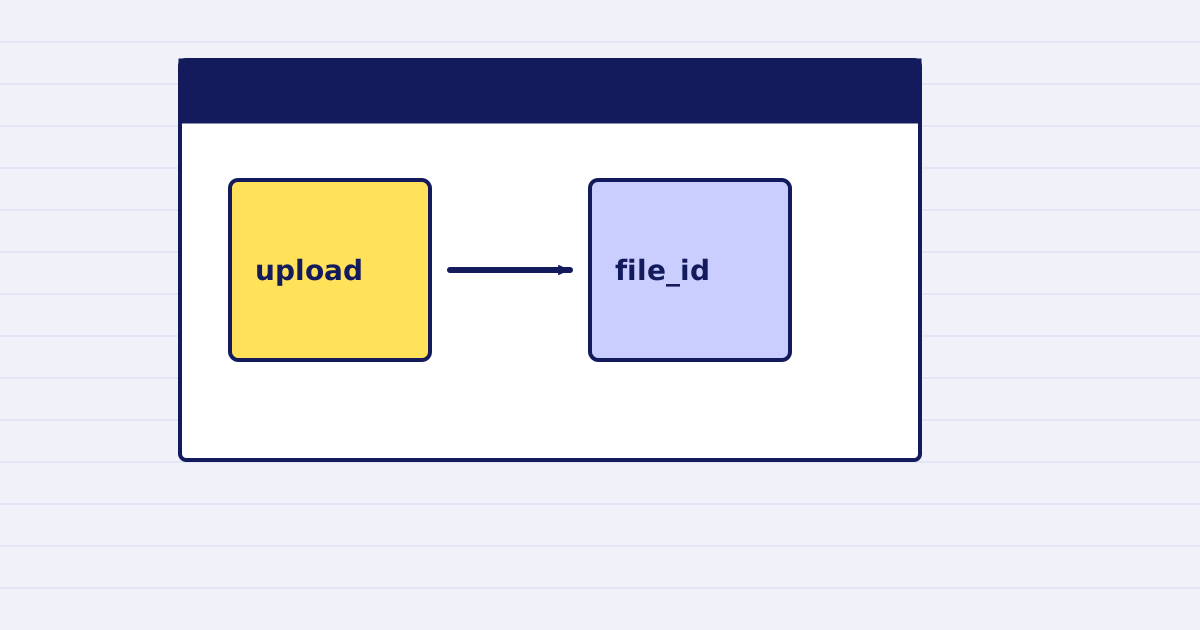
Files over 100 MB do not go in the JSON body. Create an upload with POST /v1/uploads, send the bytes to the presigned URL, then pass the returned file_id as the source of your job.
A base64 body adds a third to the file size, and the request grows past what a single JSON call should carry. The upload route moves the bytes out of the request. Your job then points at the stored file.
The three steps
- Create the upload. Call
POST /v1/uploadswith your API key. The response includes a presignedPUTURL and afile_id. - Send the bytes. Send the file as the body of a
PUTto the presigned URL. The URL is signed, so it does not need your API key. - Start the job. Pass the
file_idas the source of your compression request, in place ofsource.base64orsource.url.
{
  "source": { "file_id": "fil_…" },
  "options": { "output": "url" }
}
The fil_… value is a placeholder. Use the file_id from your own upload response.
Limits to check first
- Size. Use the upload route for files over 100 MB. The plan table lists the maximum size for each plan, from 25 MB on the free plan to 2 GB on enterprise. Read the limits.
- Source. A job takes one source: a
file_id, a URL, or base64. Do not send two.
Test it with one large file
Upload a file of about 120 MB. Start the compression job with its file_id. Check that the job completes and the output is smaller than the input. Then confirm the job returns a result link with an expires_at value.
Next step
Copy the result into your own storage as soon as the job finishes. The retention guide explains why.
Keep reading
-
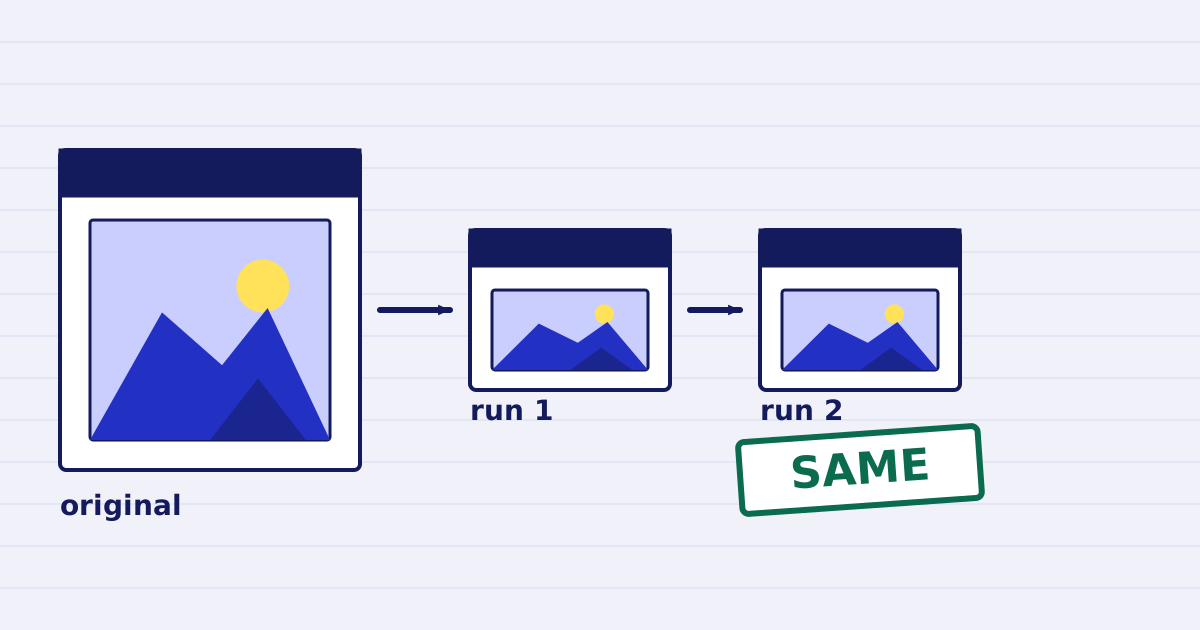
Compress a PDF twice: the second run returns the same bytes
A second compression run skips images that are already at target, so the file comes back unchanged. We measured it, and the case where it does more work. -
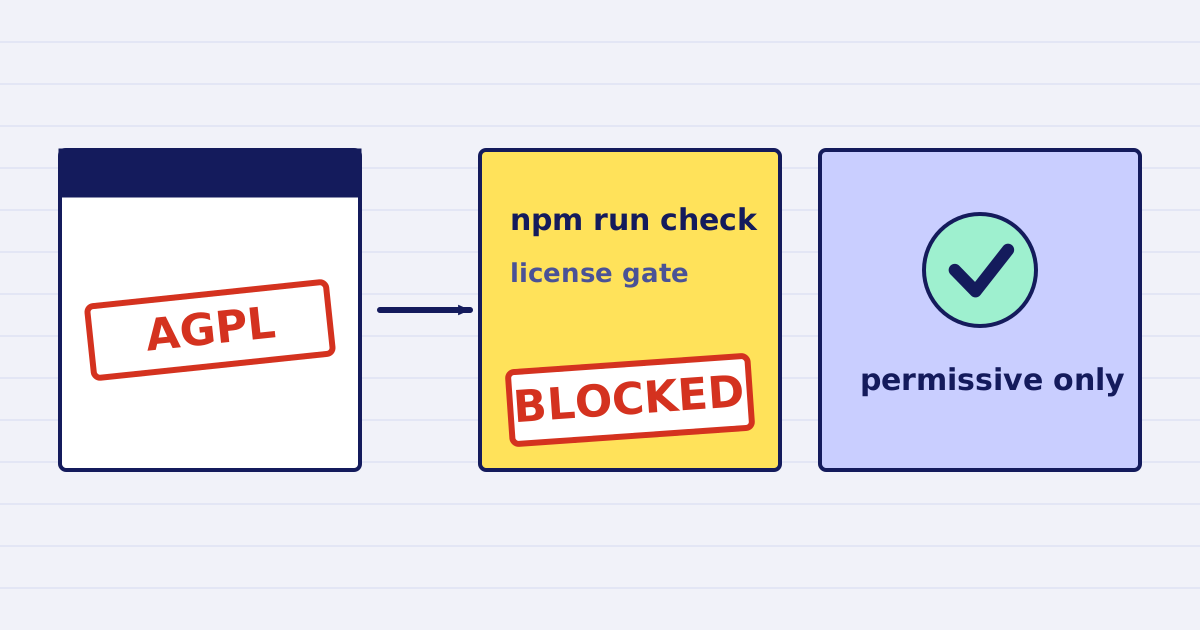
Why our PDF pipeline avoids Ghostscript and MuPDF
Ghostscript and MuPDF are AGPL-licensed. Here is what that license asks of a hosted API, and how our build blocks AGPL and GPL dependencies.