Resize images for the web with an image API, step by step
Resize and convert images with one API call. Set width, fit, format and quality, use max_bytes for a size budget, and check the result before publishing.
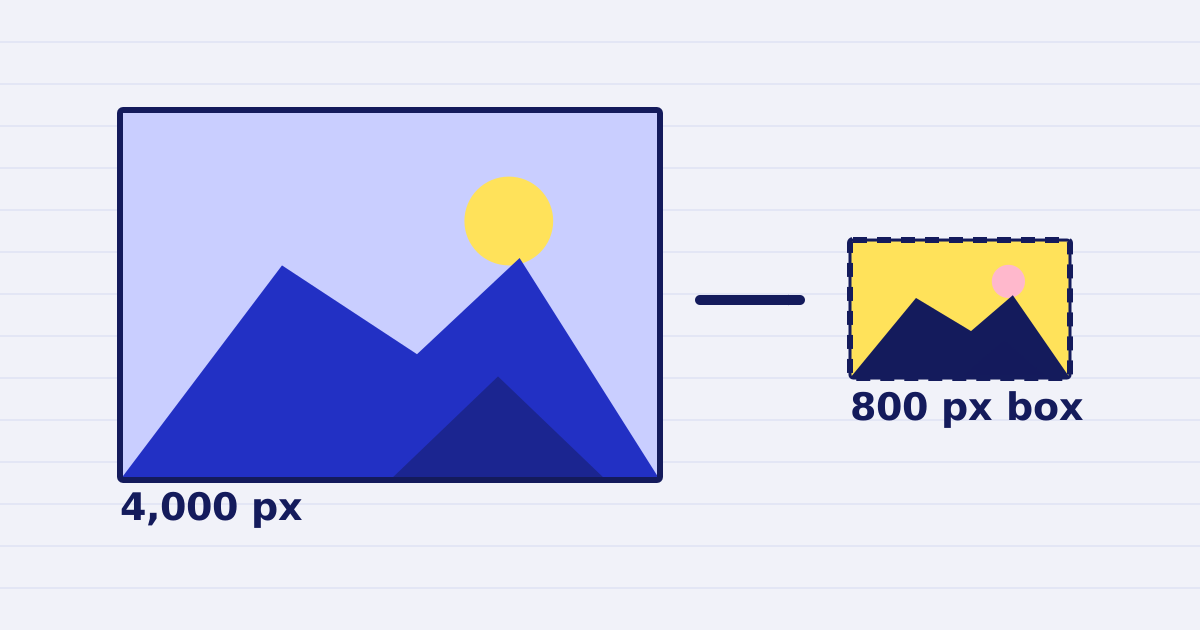
Most product photos and profile images are far larger than the space they occupy on a page. A 4,000-pixel photo shown in an 800-pixel box costs bandwidth on every view and gains nothing on screen. The fix is to resize the image once, convert it to a sensible format, and store the smaller version.
The JustAPI image optimization API does this in one call. This article covers the options that matter for web images, a working request, and the checks to run before you publish.
One call, one resized image
POST https://api.justapi.tech/v1/image/optimize takes a source and an options object. The source is a public URL, a base64 string or a file id from an earlier upload. For a web workflow, a URL is the simplest choice.
curl https://api.justapi.tech/v1/image/optimize \
  -H "Authorization: Bearer YOUR_API_KEY" \
  -H "Content-Type: application/json" \
  -d '{
    "source": { "url": "https://files.example.com/photos/desk-setup.jpg" },
    "options": { "width": 800, "fit": "inside", "format": "webp", "quality": 80 }
  }'
The response includes result.url, result.width, result.height, result.bytes and result.content_type. It also includes stats.original_bytes, stats.output_bytes, stats.ratio and stats.source_format. The ratio is the fraction removed, so 0.87 means the file is 87% smaller.
The API accepts JPEG, PNG, WebP and HEIC input. HEIC is common in iPhone photos, and the HEIC to JPEG guide explains how orientation and colour are handled before you publish.
The options that matter
These are the options from the image API reference, with the defaults the schema states:
| Option | Default | Use it for |
|---|---|---|
width and height |
none | The largest size you need. Set one or both |
fit |
inside |
inside keeps the whole image in the box. cover fills the box and crops. contain fits the image in the box. fill stretches it |
format |
jpeg |
jpeg, webp, png or auto. Use png when you need transparency |
quality |
76 |
The JPEG or WebP quality from 1 to 100 |
progressive |
false |
Keep it false for images that will be placed in a PDF |
strip_metadata |
true |
Removes metadata after rotation is applied |
auto_orient |
true |
Applies the EXIF rotation before the metadata is removed |
max_bytes |
none | Lowers the quality until the file fits the budget |
auto_orient and strip_metadata are both on by default. Keep them on for public images. Otherwise a phone photo can appear sideways, or it can carry location data that you did not intend to publish.
The format value auto lets the service choose among its supported outputs. If your front end needs a specific type, choose the format explicitly.
Set a size budget
If a gallery has a file size limit, use max_bytes. The service lowers the quality until the result fits, and it stops at a quality floor.
{
  "source": { "url": "https://files.example.com/photos/desk-setup.jpg" },
  "options": { "width": 1200, "format": "jpeg", "max_bytes": 200000 }
}
If the target cannot be reached without making the image too poor, the response sets stats.target_not_met to true. Do not assume that a successful HTTP response means the file meets the budget. Read that field and decide what to do: store the file anyway, retry with a larger width, or flag the image for review.
Check the output before you publish
Run a small test set before you apply the same options to thousands of images. Include:
- A photo taken in portrait orientation, to confirm the rotation.
- A photo with a wide colour gamut from a phone. The service converts Display P3 to sRGB, so check that the colours look right in a browser.
- A logo or diagram with sharp edges and small text, to see whether the chosen quality keeps it readable.
- An image that is already small. If the output is not smaller than the source, the service returns the image unchanged and charges nothing.
Look at each result at the size it will be shown. A thumbnail and a full-width hero image have different quality needs.
Choose the width from the layout
Pick the width from the largest place the image appears, then multiply by the device density you support. A product card that shows an image 400 CSS pixels wide on a double-density screen needs about 800 pixels. Setting width to 1600 for that card wastes bytes, and setting it to 400 blurs the image on a high-density screen.
Use one size per layout slot instead of one size for everything. A thumbnail, a card and a hero are three outputs from the same source. Create each one on demand, or in a batch at upload time, and store each under its own name.
Do not enlarge small images to fill a slot. An image that is smaller than the slot will look soft when it is stretched. Keep the original width when the source is already smaller.
Source files and privacy
If the source is a public URL, the service downloads it. Private and internal addresses are refused. If you use a file id, the original is deleted after processing unless you set keep_source to true.
Strip metadata unless you have a reason to keep it. Location data in a photo is a common surprise when an image is published without review.
What it costs
At the first volume tier, each image optimization costs $0.0012. The price falls to $0.0010 and then to $0.0008 as your monthly volume grows. A failed call is not charged, and a 4xx or 5xx response costs nothing. The pricing page has the complete table.
Try it on one image
Start free at app.justapi.tech. New accounts get 1 USD of credit with no card. To test a single file without an account, use the free image optimizer, which accepts one image of up to 3 MB at a time and returns a baseline JPEG resized to at most 1600 pixels wide.
Keep reading
-
Strip GPS location from photos with one API call
Phone photos store GPS coordinates in their EXIF block. Our image optimize call removes that block by default. Here is the request and a check for each output. -
Responsive image sizes in one batch call
Make a responsive image set in one batch request: one ref per width, per-size options, failed sizes kept apart and a srcset built from the results.